
Gmail
Follow these simple steps if you would like to
- automatically send confirmation emails,
- automatically send follow-up emails for your visitors,
- and more!
Advanced Connections are not available anymore. Scroll down to find instructions on how to connect to third-party tools through a webhook.
Navigate to Advanced Connections
To Create Advanced Connections ensure you are on the Edit tab at the top of your screen.
Navigate to the Connectors tab on the left panel. You can manage your connections at the step or flow level.
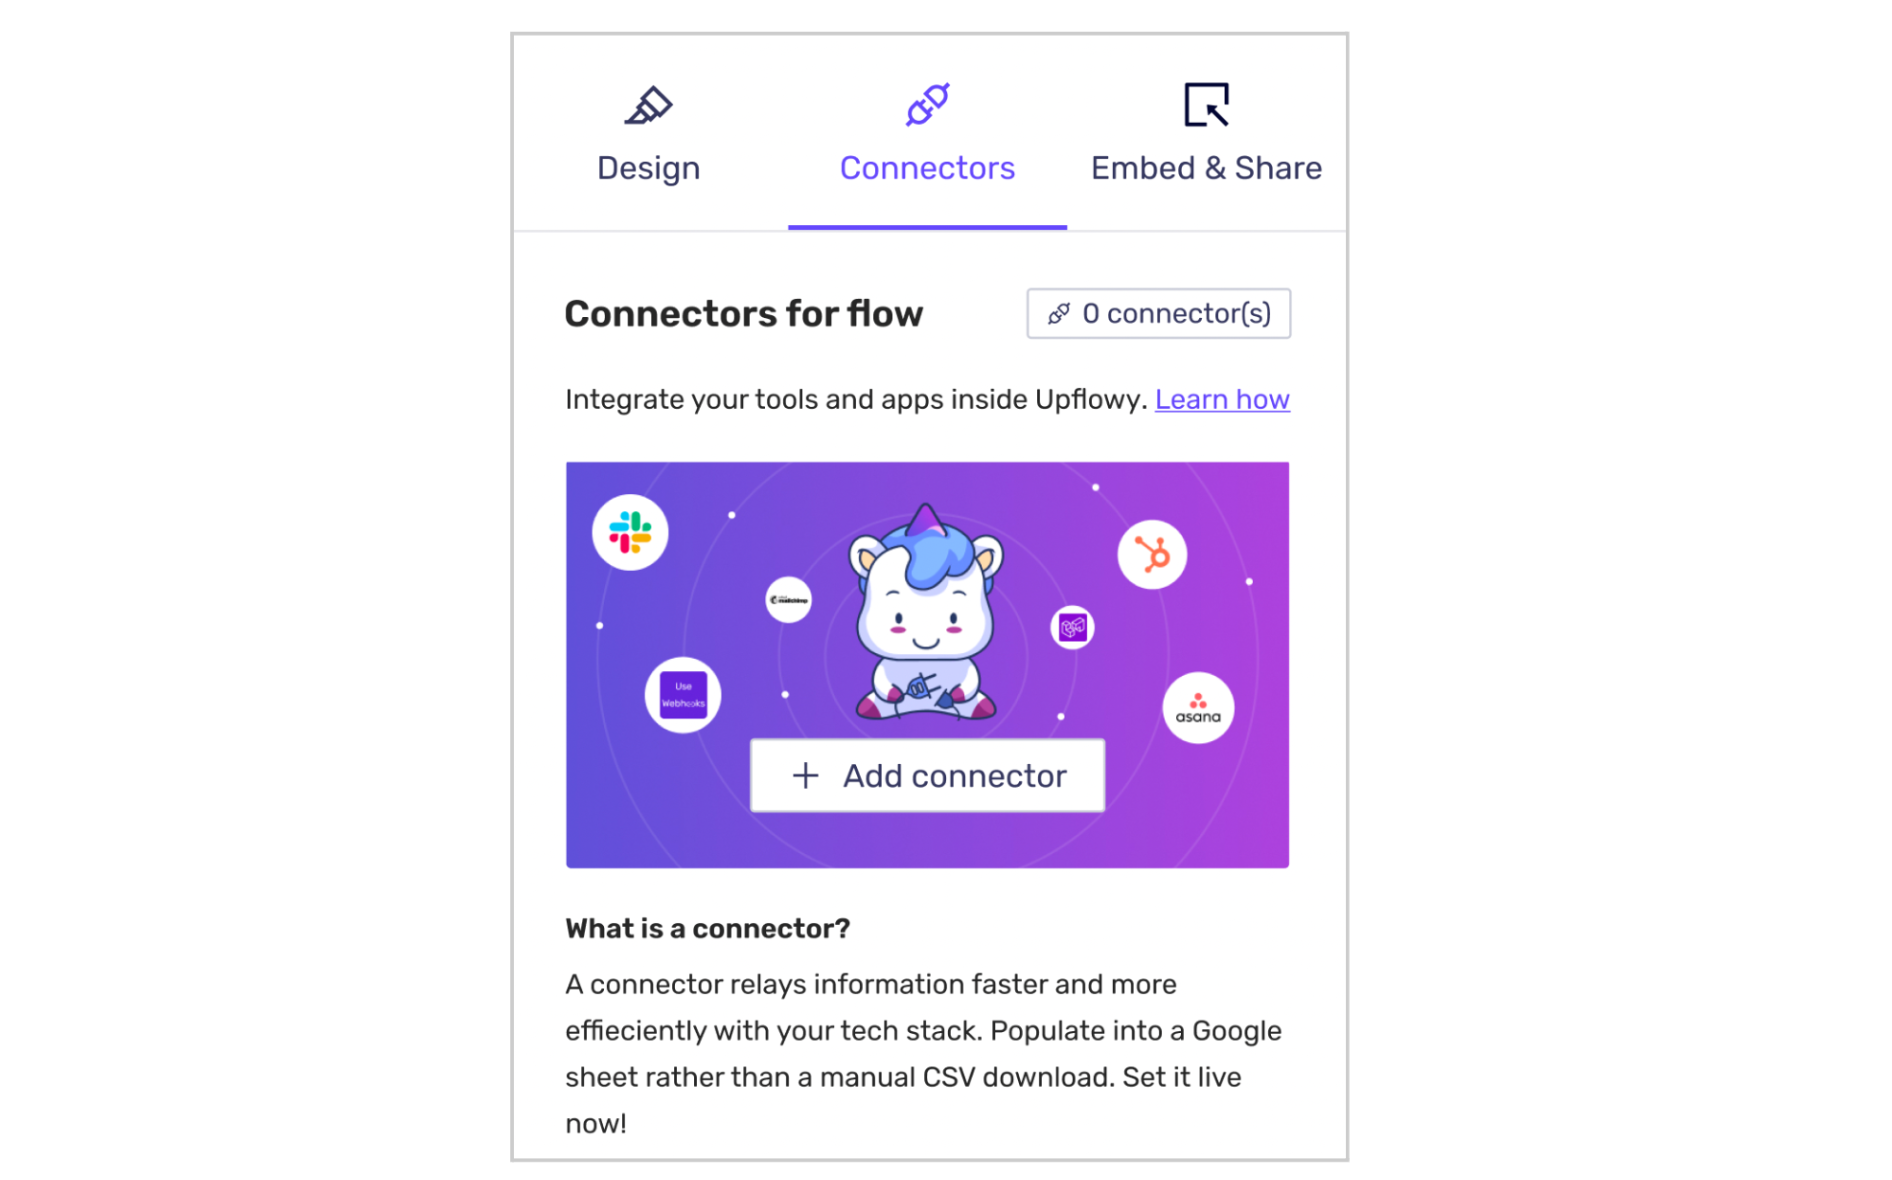
Select the Add connector button and a modal will appear.
Navigate to Create Advanced Connections from either the tab at the top of the card below.
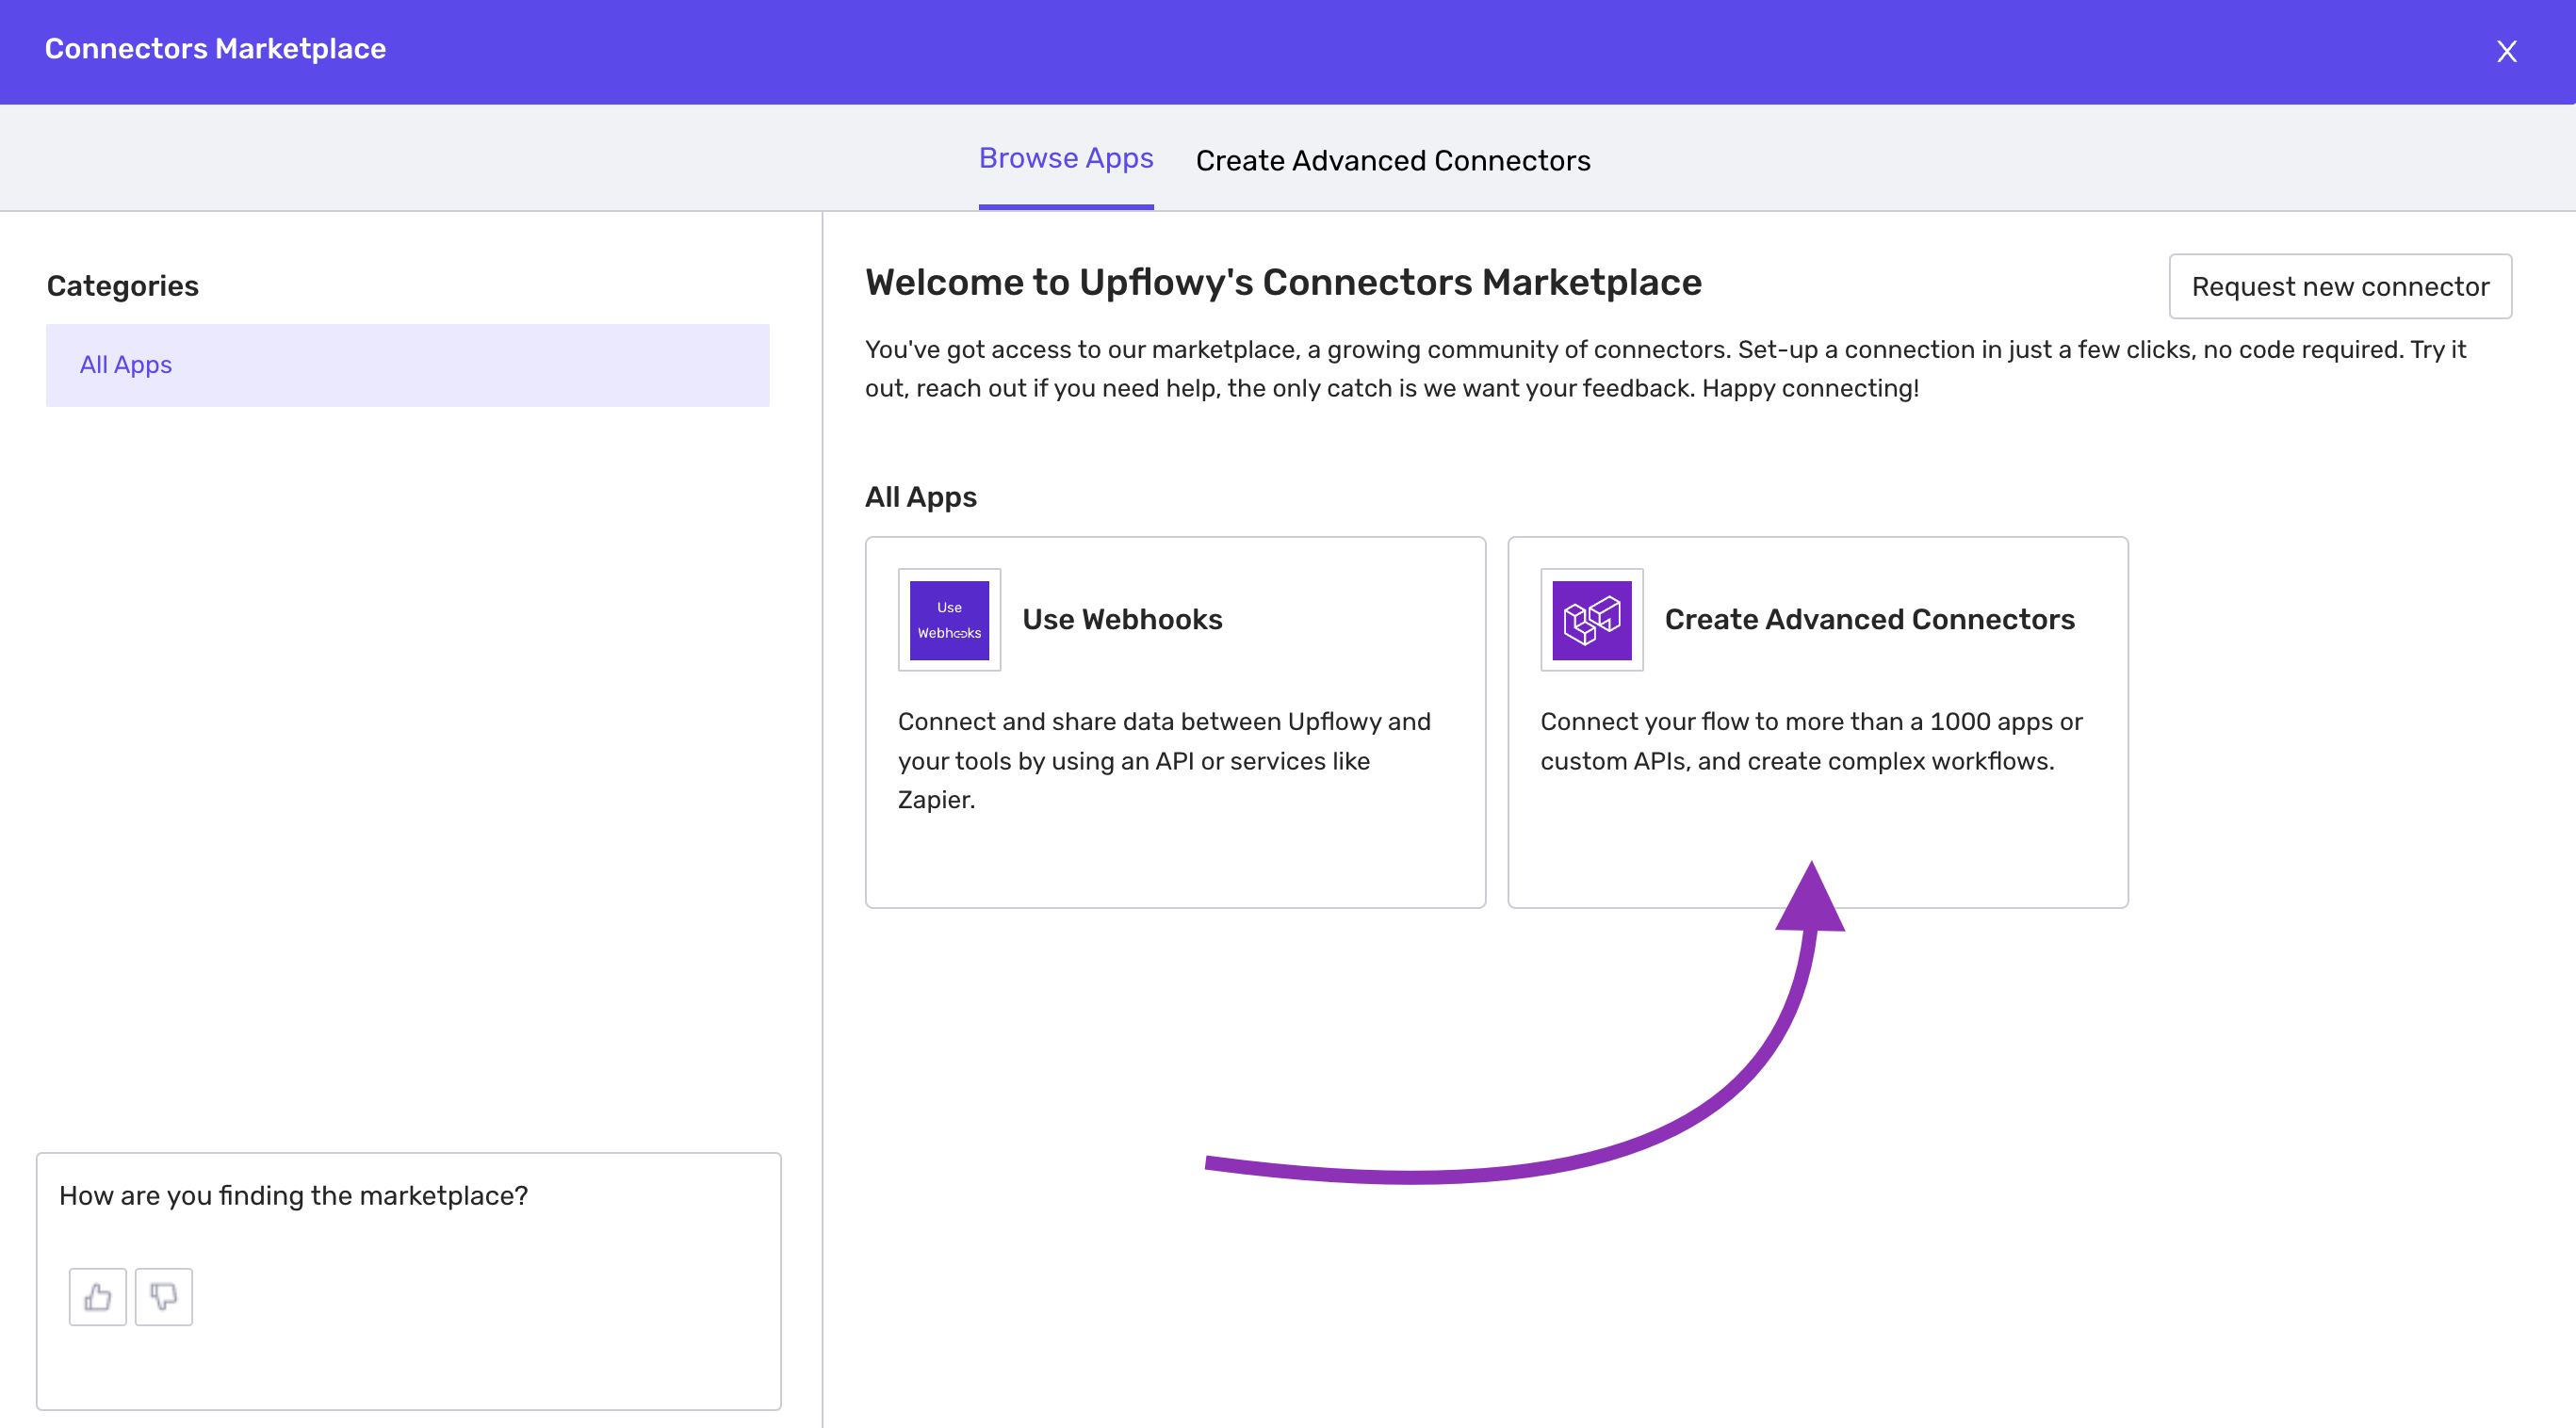
You will enter the details screen for Advanced Connections. Select Create Connection to begin. Note: you need to be granted access to use this feature.
Connect Gmail with Advanced Connections
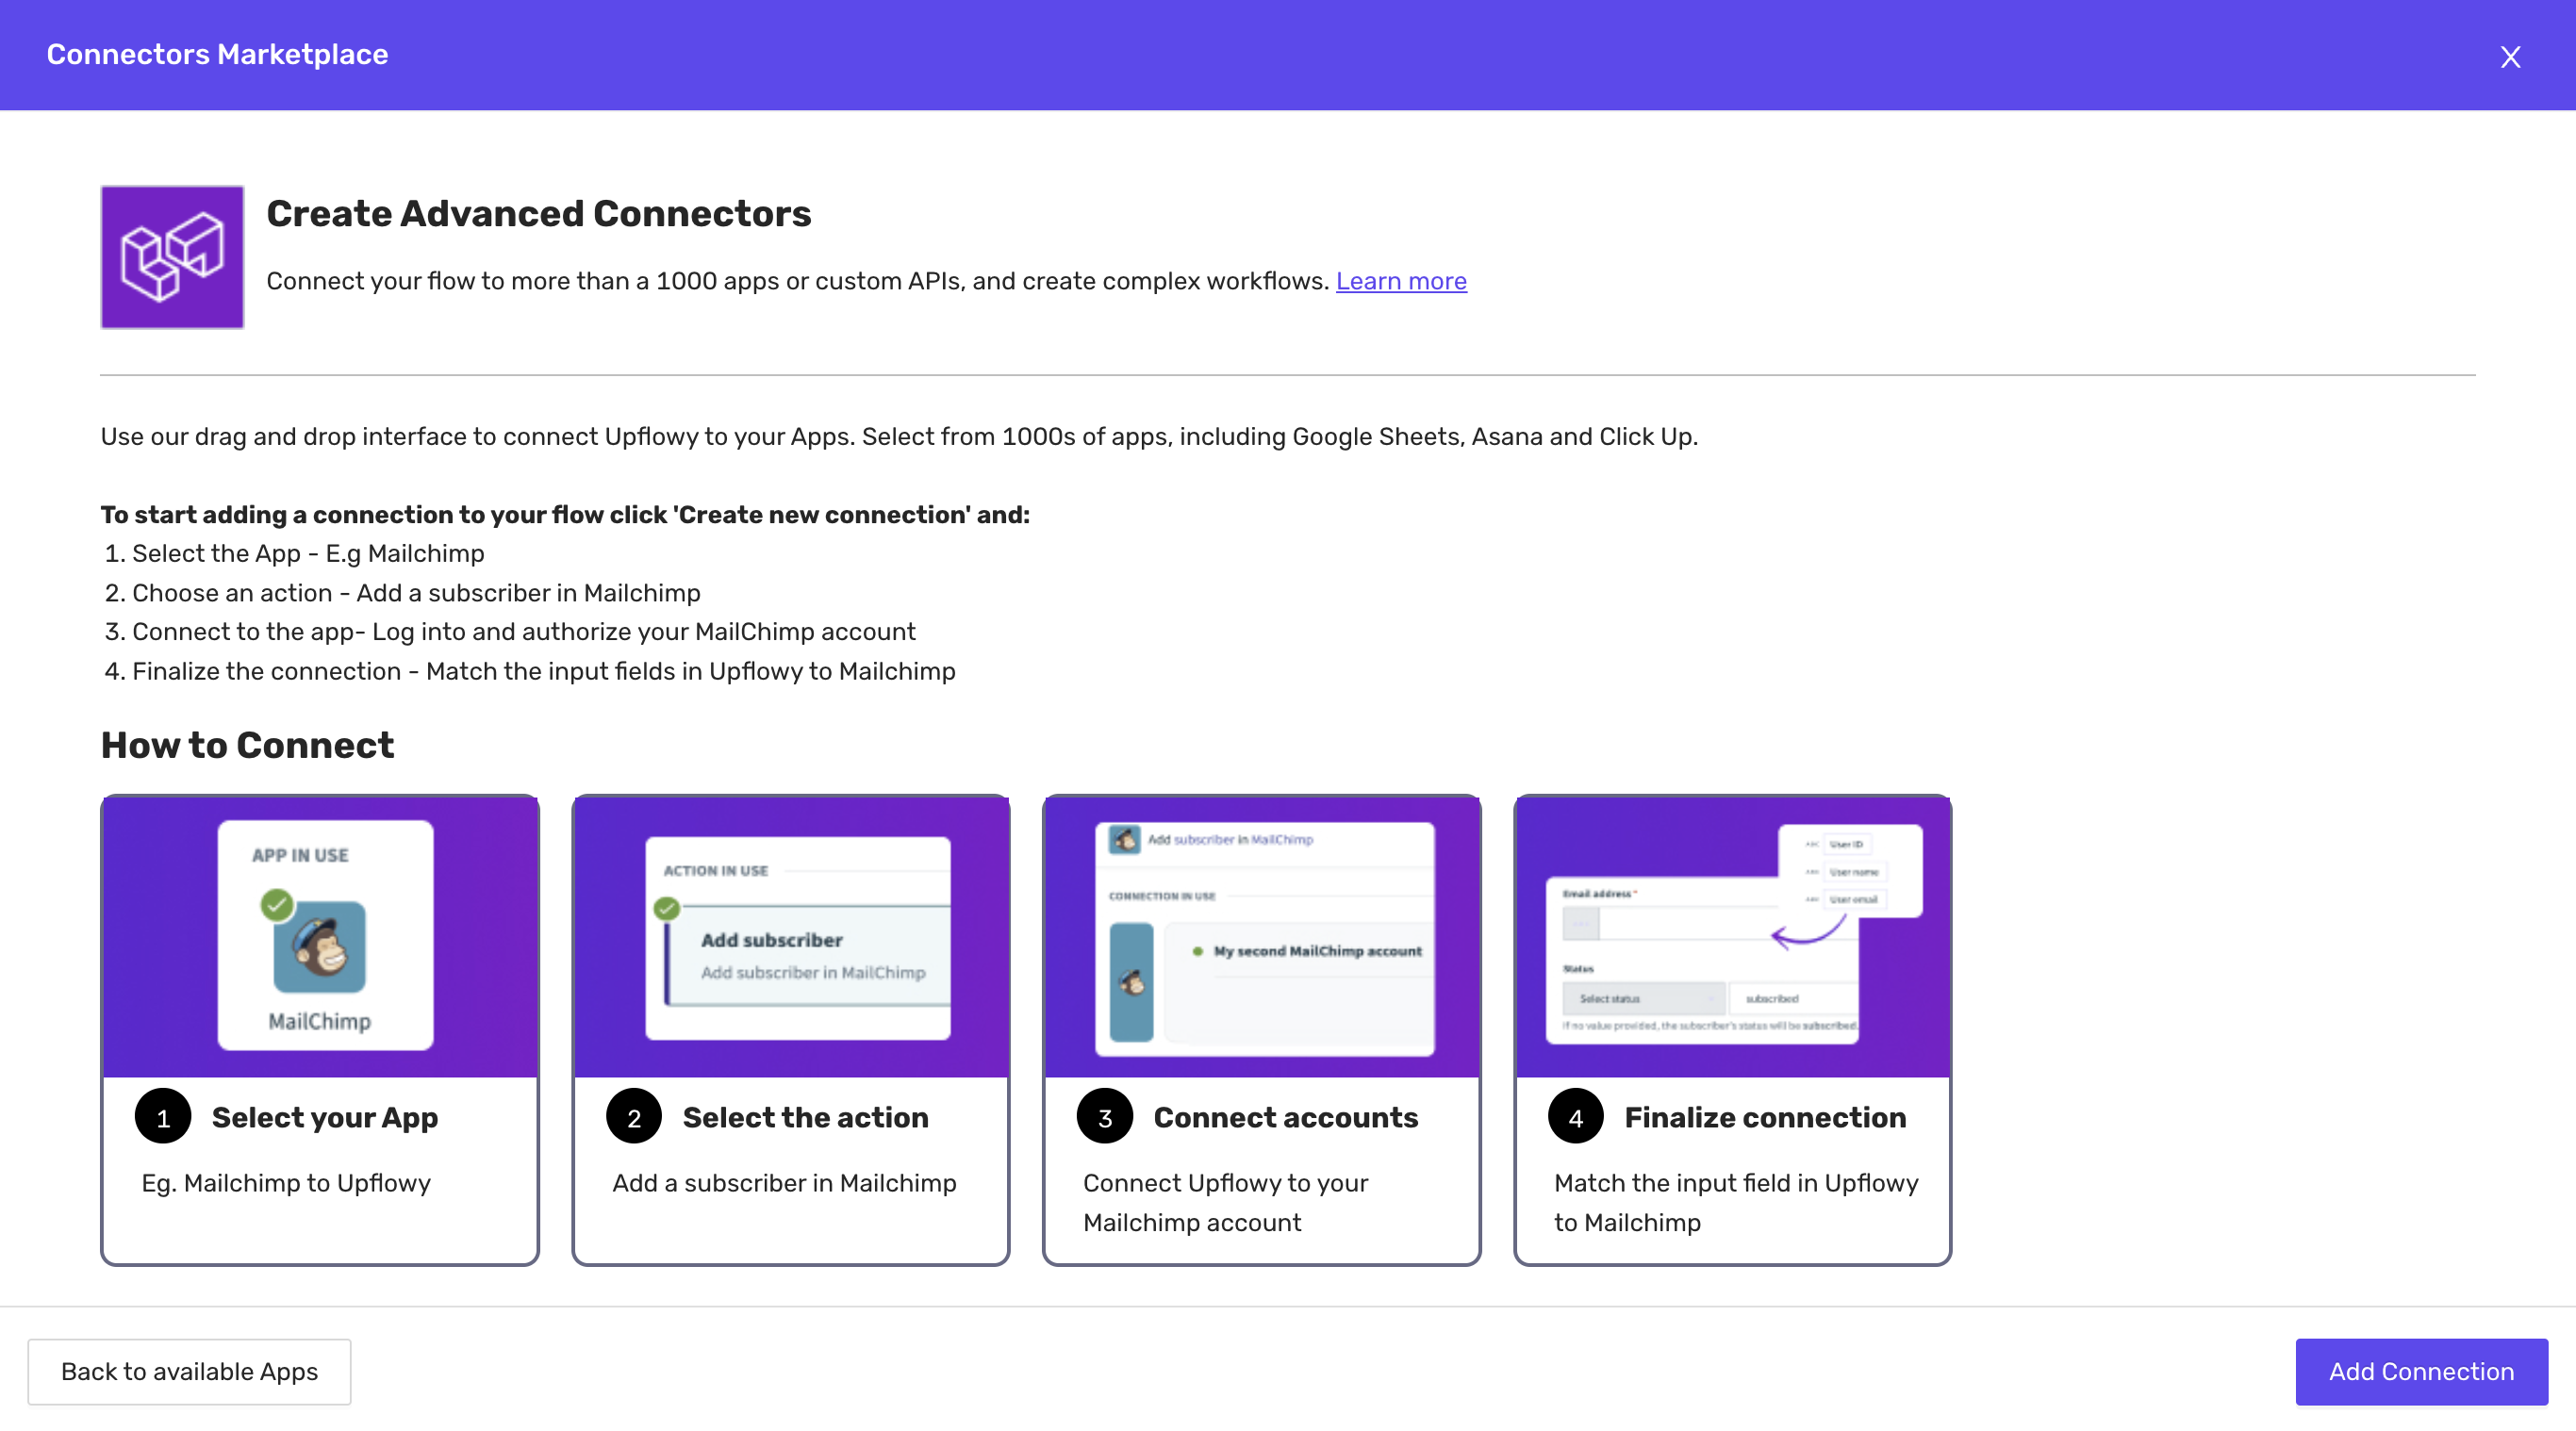
There are four parts to setting up an advanced connection.
Step one: Select your App
Select the plus + button that appears underneath the actions heading. Use this to start building what you want to happen every time a user completes a step or flow. You have multiple options to choose from:
- Action in app
- IF condition
- IF/ELSE condition
- Repeat action
- Call function
- Stop job
- Handle errors
Select Action in the app. From here you will be able to search for the app you would like to connect.
Step two: Choose an action
Select what you want to happen in the app when a user completes a step or flow.
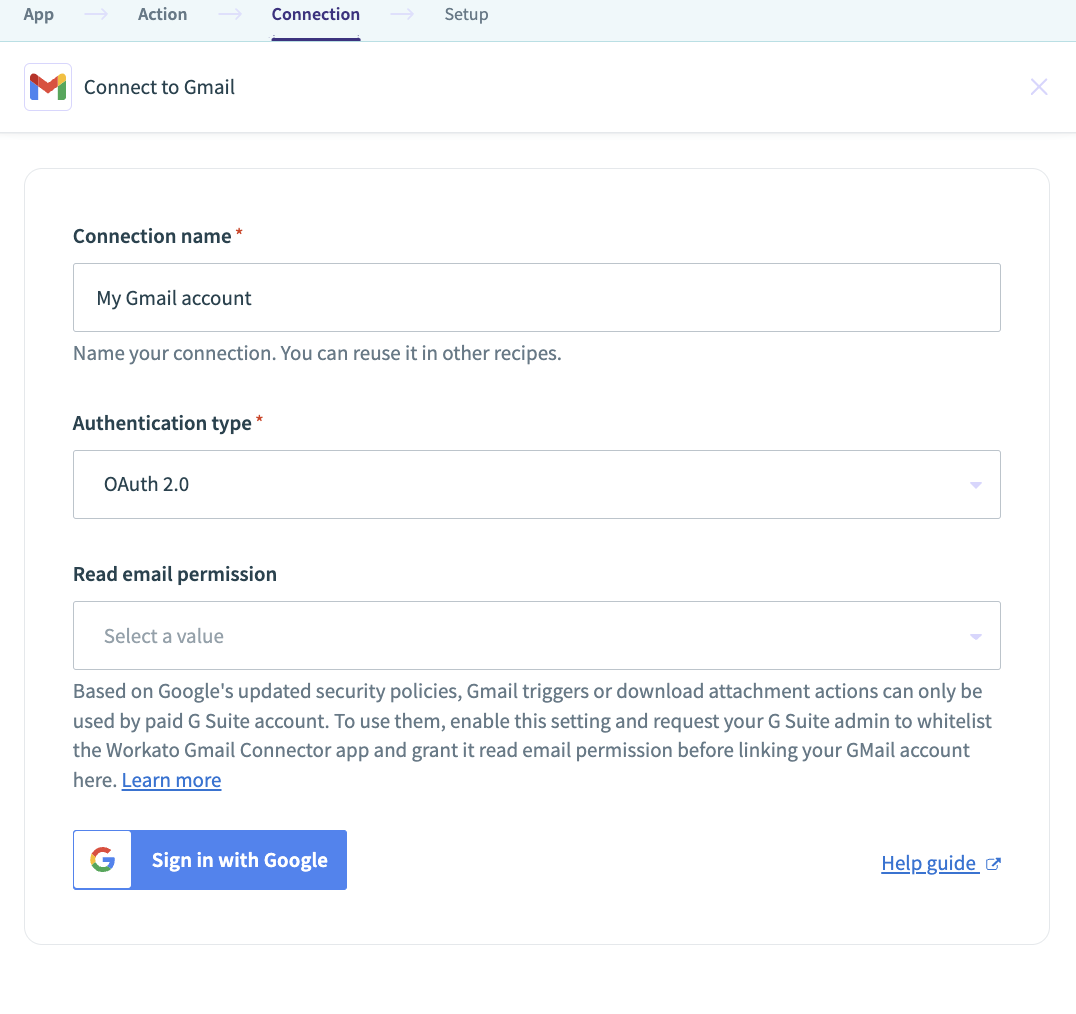
Step three: Connection
Log into the app with your account.
Step four: Setup
Now, all you need to do is customize the settings to achieve the goal you are looking for. This will depend on your specific needs.
A specific use case: Automatic email confirmation
In Upflowy you can set up automated email confirmations to be sent every time someone fills out a flow. This walkthrough article will guide you through the step-by-step process of configuring this automation, ensuring that your users receive email confirmations effortlessly.
Step 1: Add an advanced connector to your flow
Follow the steps above to add an advanced connector to the last step of your flow, or the step where you would like to trigger the email send. From the apps select "Gmail".
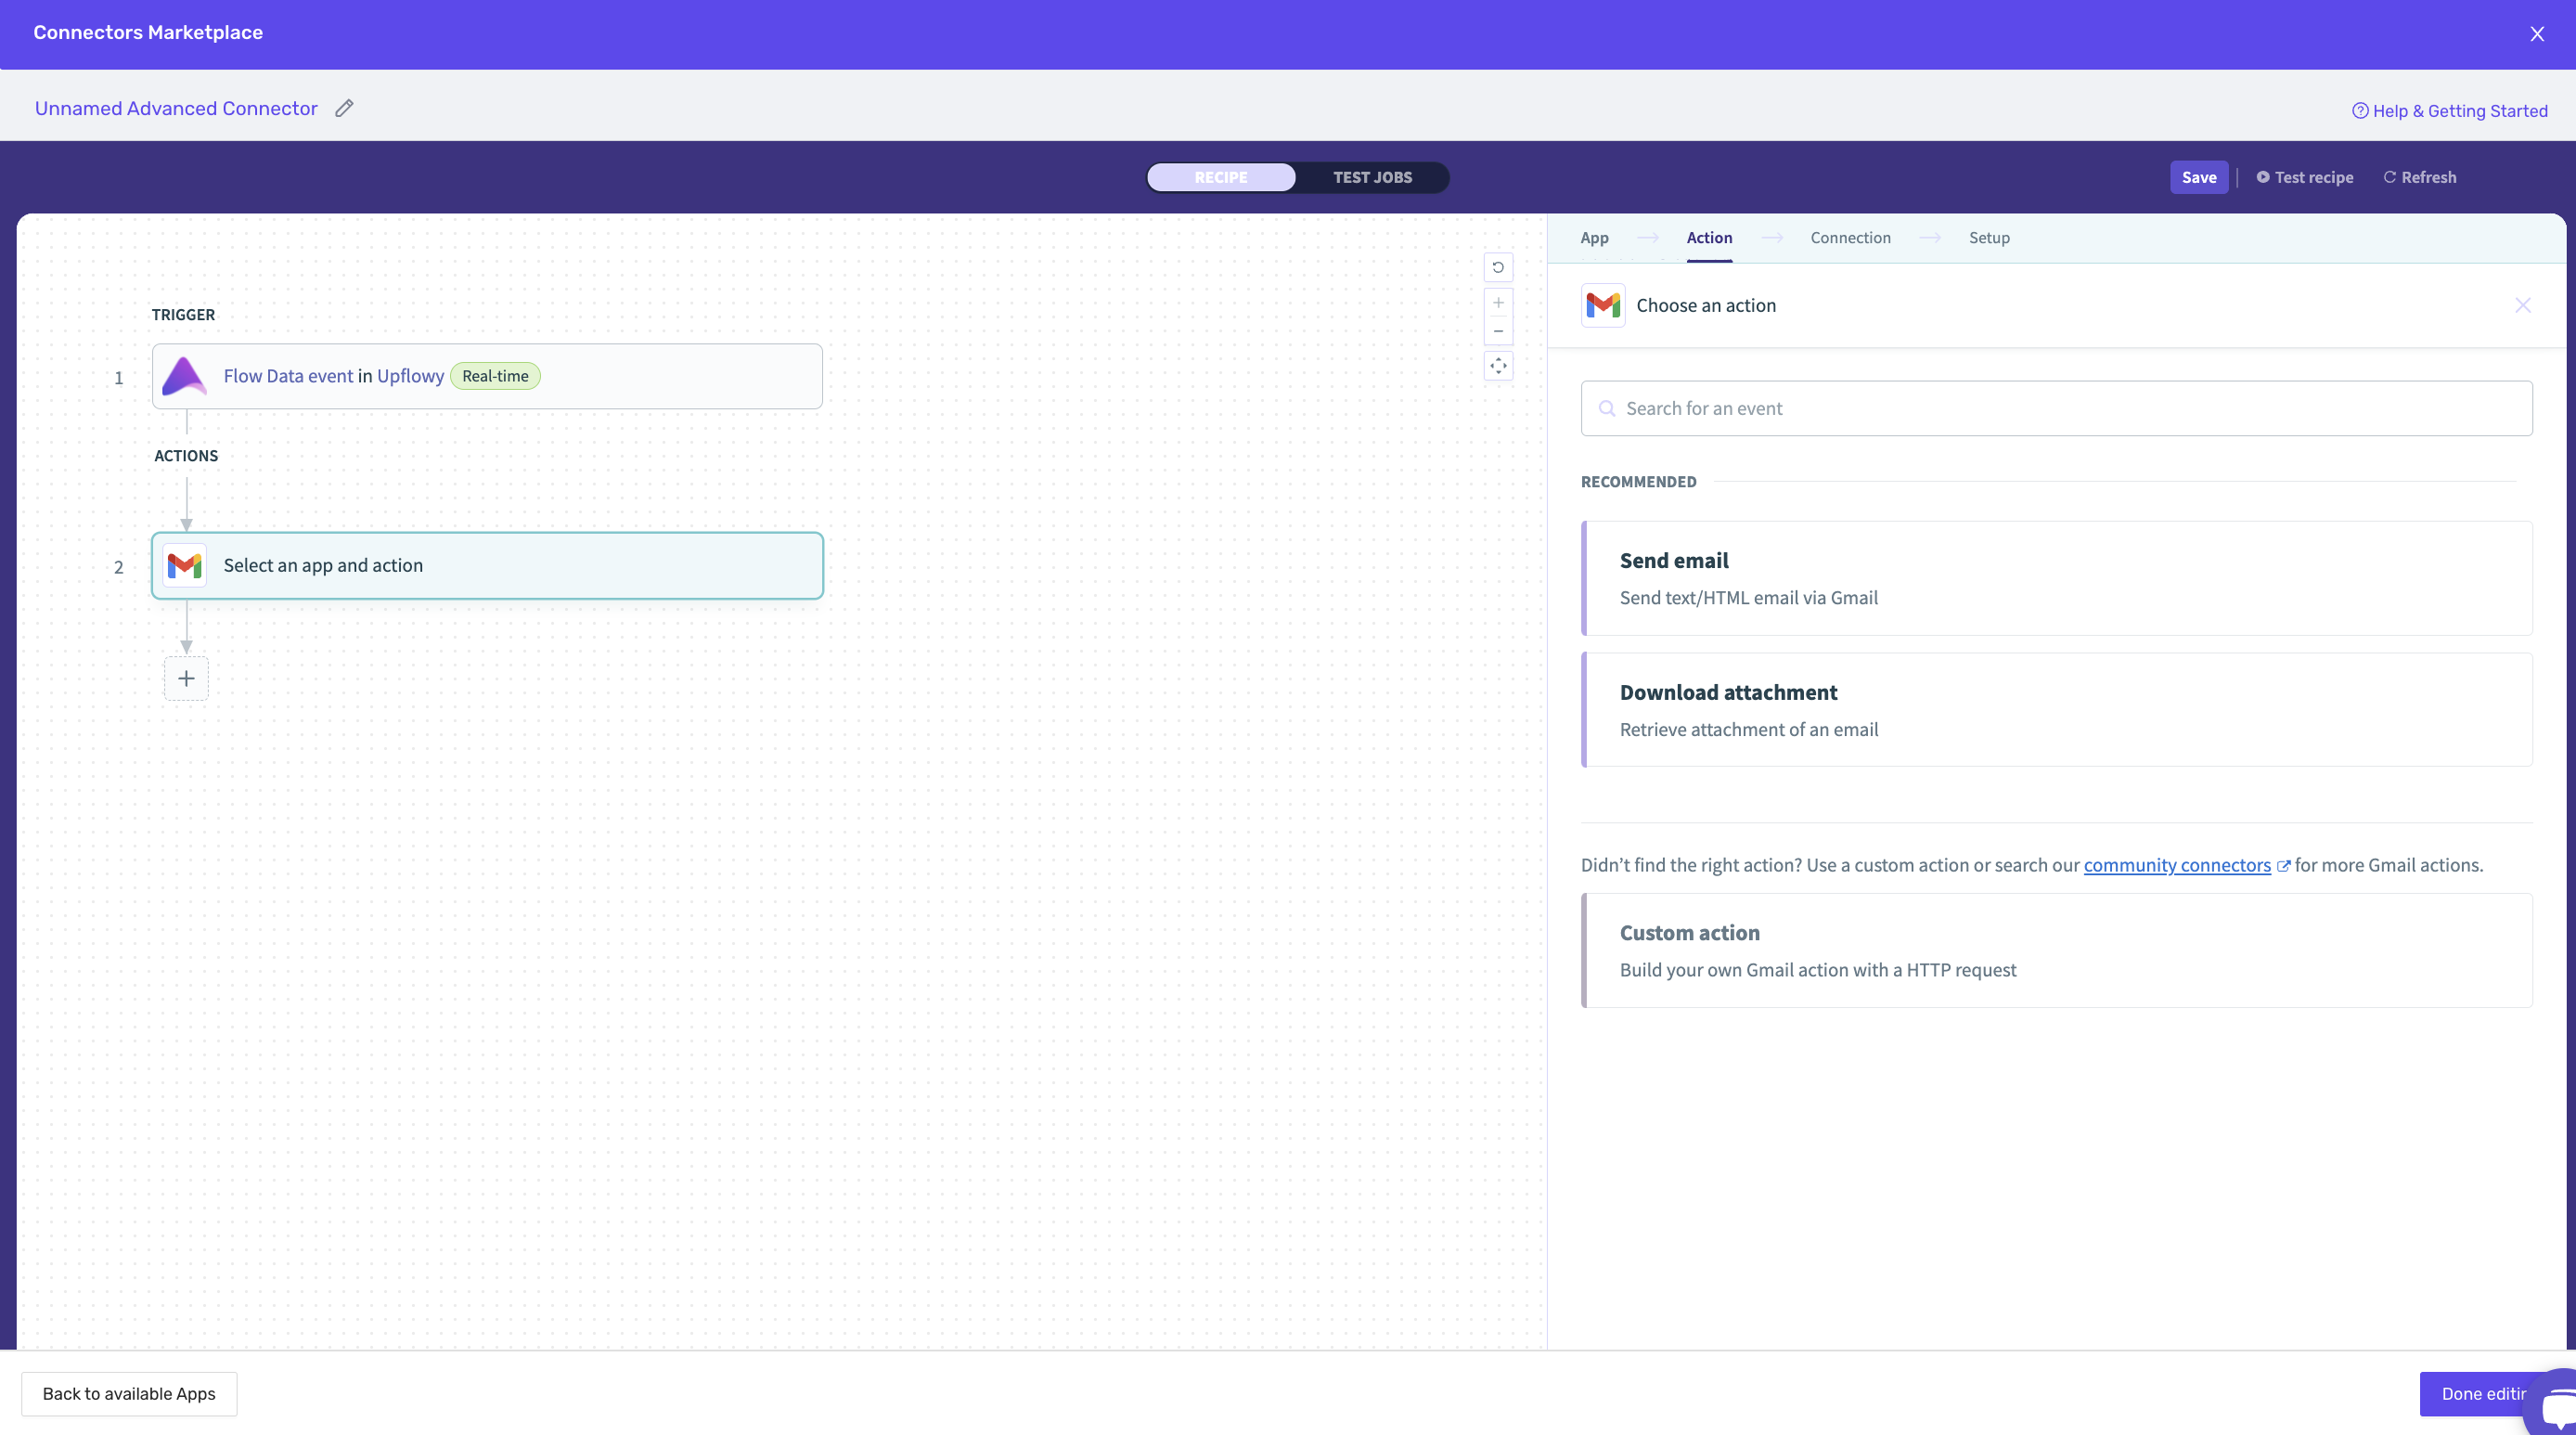
Spet 2: Configure email
For this, select the "Send email" action on the actions tab. Then provide the necessary information for the email, including the recipient's email address, subject line, and the content of the email.
To personalize the email, you can use dynamic fields from the Upflowy trigger event by clicking on the "+" icon and selecting the desired field.
Once you have filled in the email details, click on the "Save & Exit" button.
An alternative way to connect: Make
To send an email, you will need to capture an email in your flow. Ensure that you ask your customers for an email address!

Once you have these details, you'll be able to send your customers an email as soon as they complete your flow.
Upflowy stores all of the data collected in each step, so your final step will contain all of the fields that have previously been submitted. You'll be able to see this in the data tab and by clicking on "Advanced Settings" on the left-side toolbar:

To send your customers a message after completing a flow, you need to set up a Webhook on this final step.
In Make, create a new scenario, and select "Webhooks":

Select "Custom webhook":

Click "Add", create a name for your webhook, and click "Save":

Now, copy the generated address to your clipboard:
Now, return to the final step of your flow. Copy-paste the URL you just copied into the "POST" url and click "Save":
Now, go to "Preview" in Upflowy and go through your entire flow - submitting all of the information. When you return to Make, you'll see that it will have "successfully determined":

Click "OK", and now add in a new Gmail module. Select "Send an email":


You can set who receives an email by entering in information to "Email Address 1". When you click on this, information sent through the webhook will appear - click on the ID of your "email" component.
As a bonus, you can also use any of the information submitted through your Upflowy flow to personalise the email! See an example where "first_name" is used for the Subject and the Content:

Now, click "OK" and set it to Live. Enjoy your personalised emails!